Step 8: Template Engine
In order to dynamically update the dashboard.html we need a template engine. A template engine enables you to use static template files in your application.
At runtime, the template engine replaces variables in a template file with actual values, and transforms the template into an HTML file sent to the client.
There are many template engines out there! We will be using Nunjucks. It is specially designed to play well with JavaScript and that is the main reason we prefer it over alternatives.
Stop your Express app and add Nunjucks as a dependency to your application (i.e. install it using NPM):
npm install nunjucks
Let's add and configure Nunjucks in index.js. At the top of the file, add the following line:
const nunjucks = require("nunjucks");
Add the following after declaration of the app variable:
nunjucks.configure("views", {
  autoescape: true,
  express: app,
});
Create a new folder, views, inside the express-app folder. Create dashboard.njk file with the following content, inside the views folder:
<!DOCTYPE html>
<html lang="en">
<head>
  <meta charset="UTF-8">
  <meta name="viewport" content="width=device-width, initial-scale=1.0">
  <title>Dashboard</title>
</head>
<body>
  <h1>Welcome {{ uname }}!</h1>
</body>
</html>
Notice this file is identical to dashboard.html except for the {{ uname }} in <h1> element.
The {{}} is a Nunjucks syntax for looking up a variable's value from the template context. The template context must be provided in your route handler:
// index.js file
app.get("/dashboard", (req, res) => {
  let data = {
    uname: req.query.uname,
  };
  res.render("dashboard.njk", data);
});
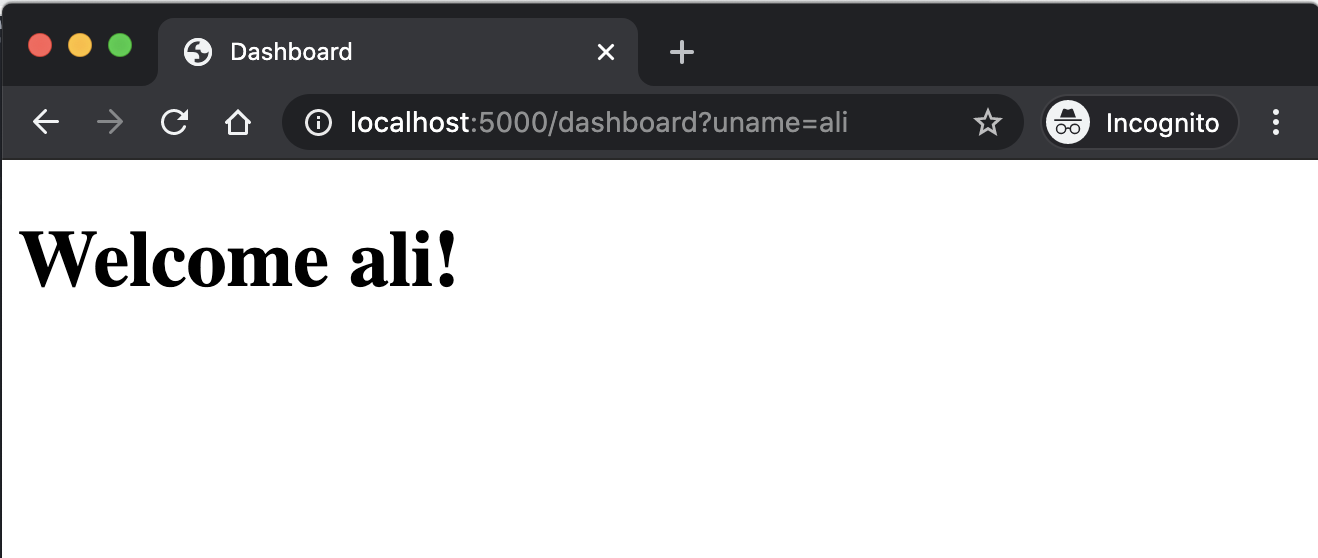
Rerun your Express app. Visit http://localhost:5000/. Enter a username and press login. You will be redirected to the "dashboard" endpoint!
There is a lot more we can do with template engines. Essentially, we can build a full-fledged web application using Express, template engines, and a database. In future modules, we will further explore these possibilities.