Step 5
Let's connect our demo Node app to the MongoDB cluster we have created on Atlas.
Go to MongoDB Atlas website, find your cluster and click on the "Connect" button.
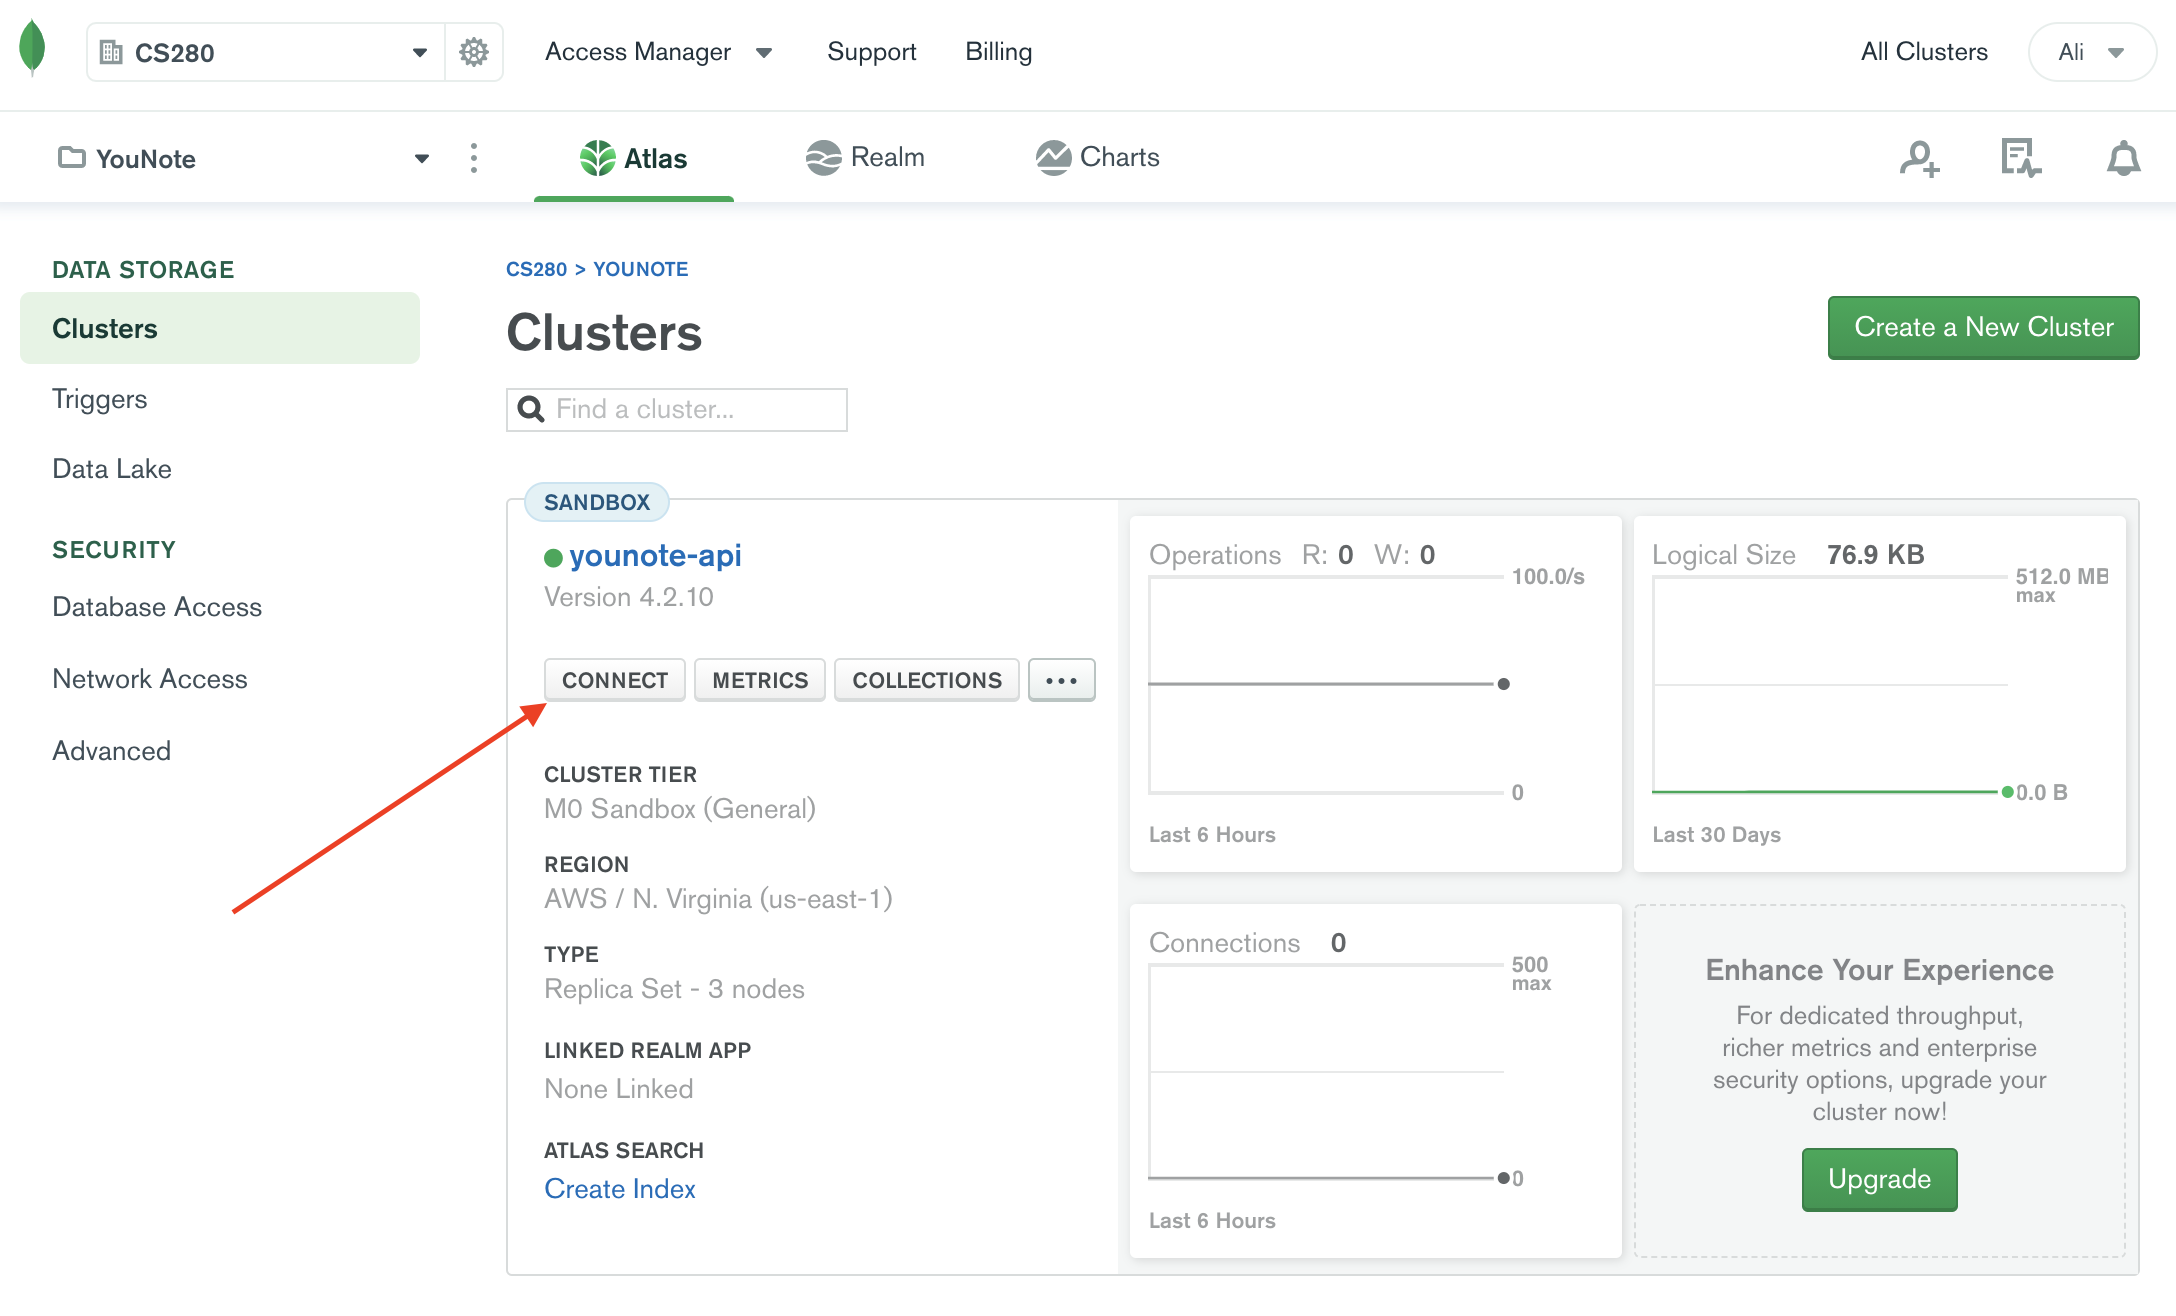
You will be presented with the following prompt:
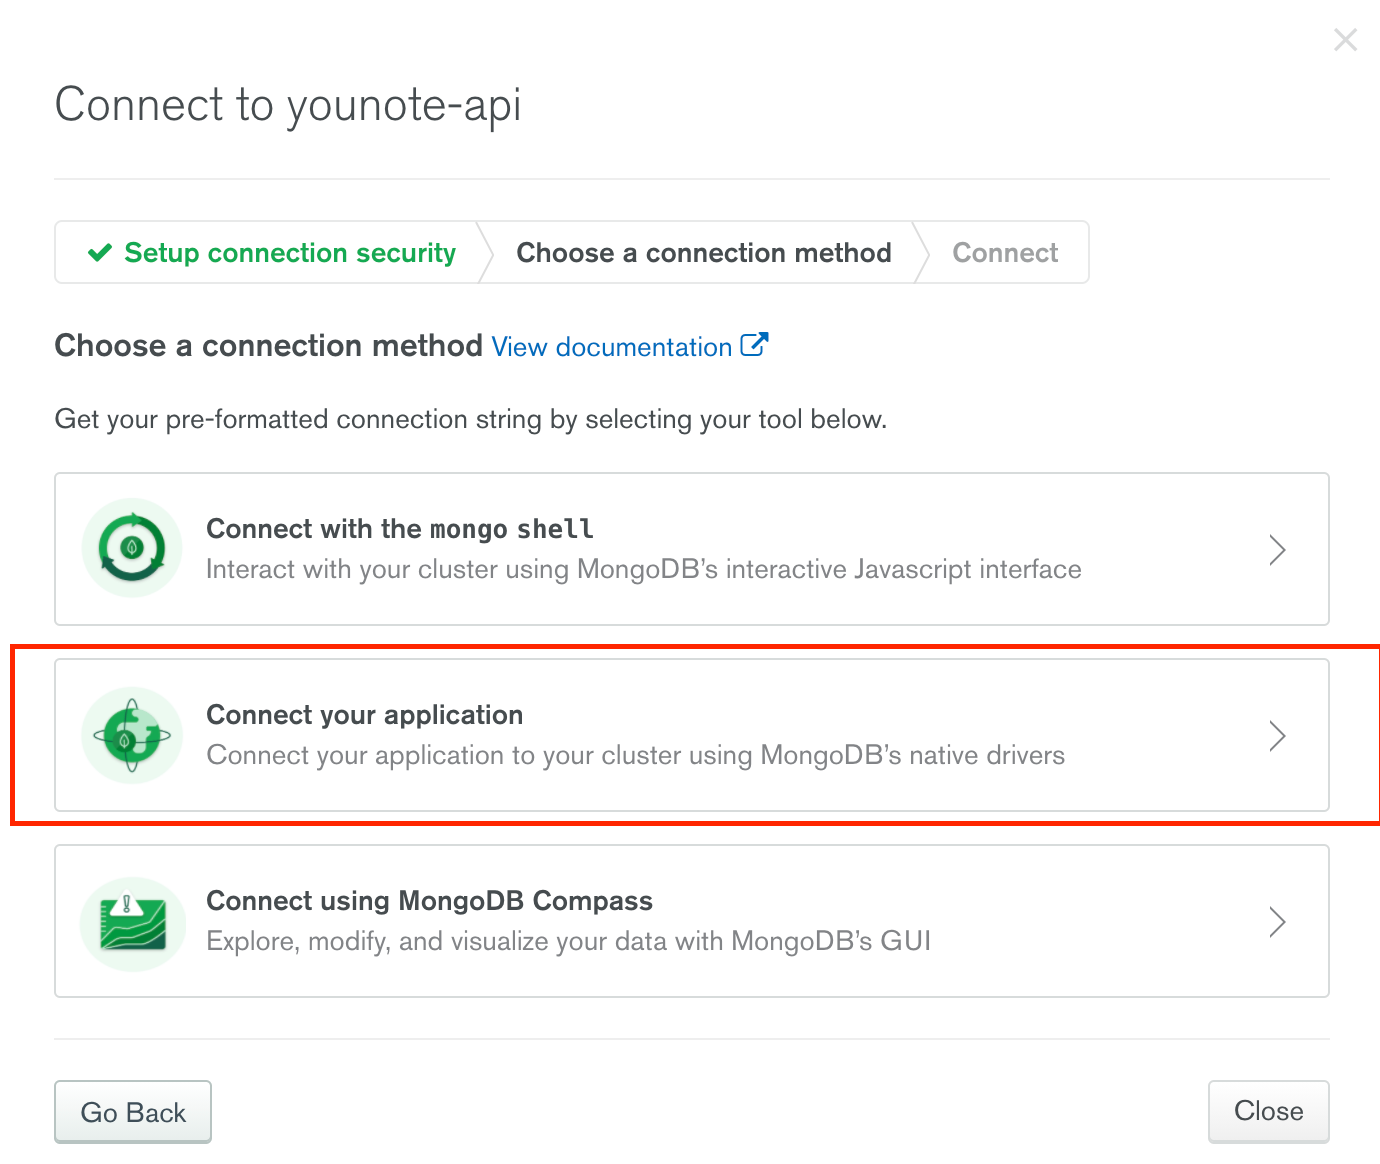
Select "Connect your application". You will see the following view:
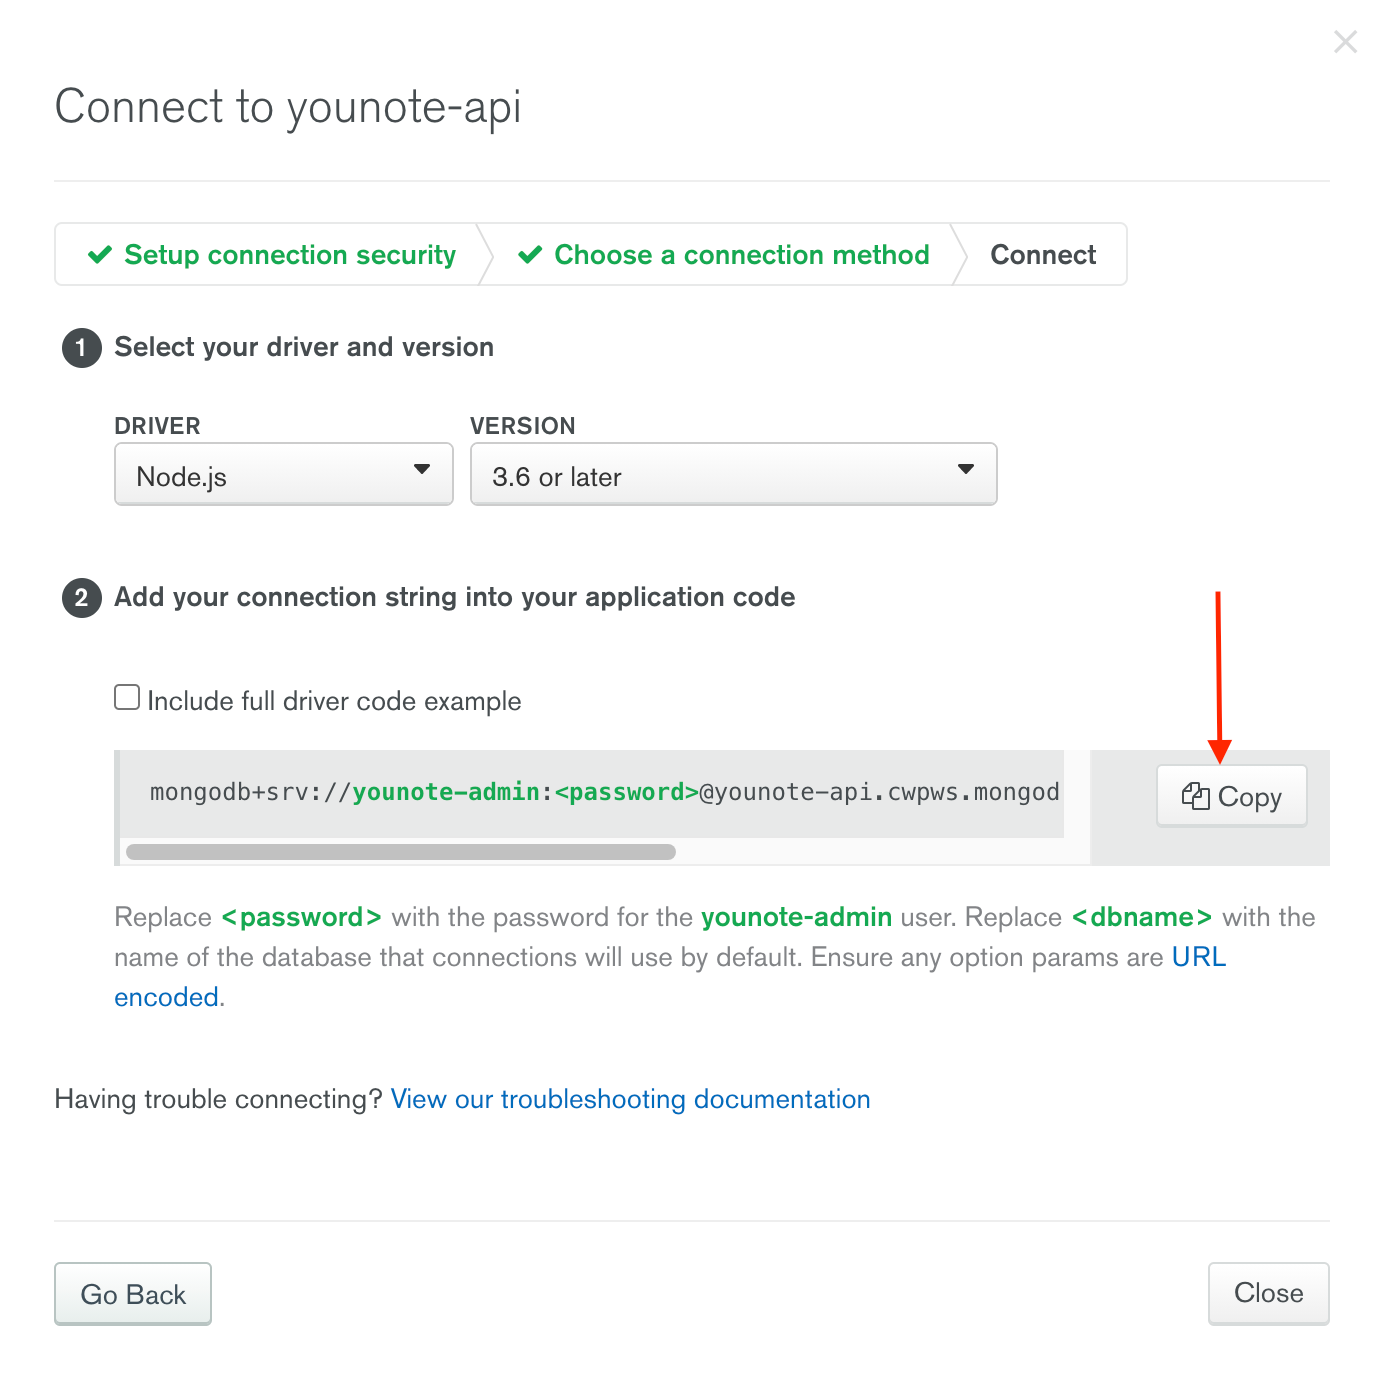
Click on the copy button and past the value in the index.js file:
const URI = `mongodb+srv://younote-admin:<password>@younote-api.cwpws.mongodb.net/<dbname>?retryWrites=true&w=majority`
This is a Uniform Resource Identifier (URI) (similar to URL for accessing websites). The URI will allow you to connect to the MongoDB cluster in the cloud. Notice, within the URI, there is <password> and <dbname>. We need to update these:
const password = "not-shown-here";
const dbname = "younote-db";
const URI = `mongodb+srv://younote-admin:${password}@younote-api.cwpws.mongodb.net/${dbname}?retryWrites=true&w=majority`
You can choose any value for dbname (database name); I've settled on younote-db.
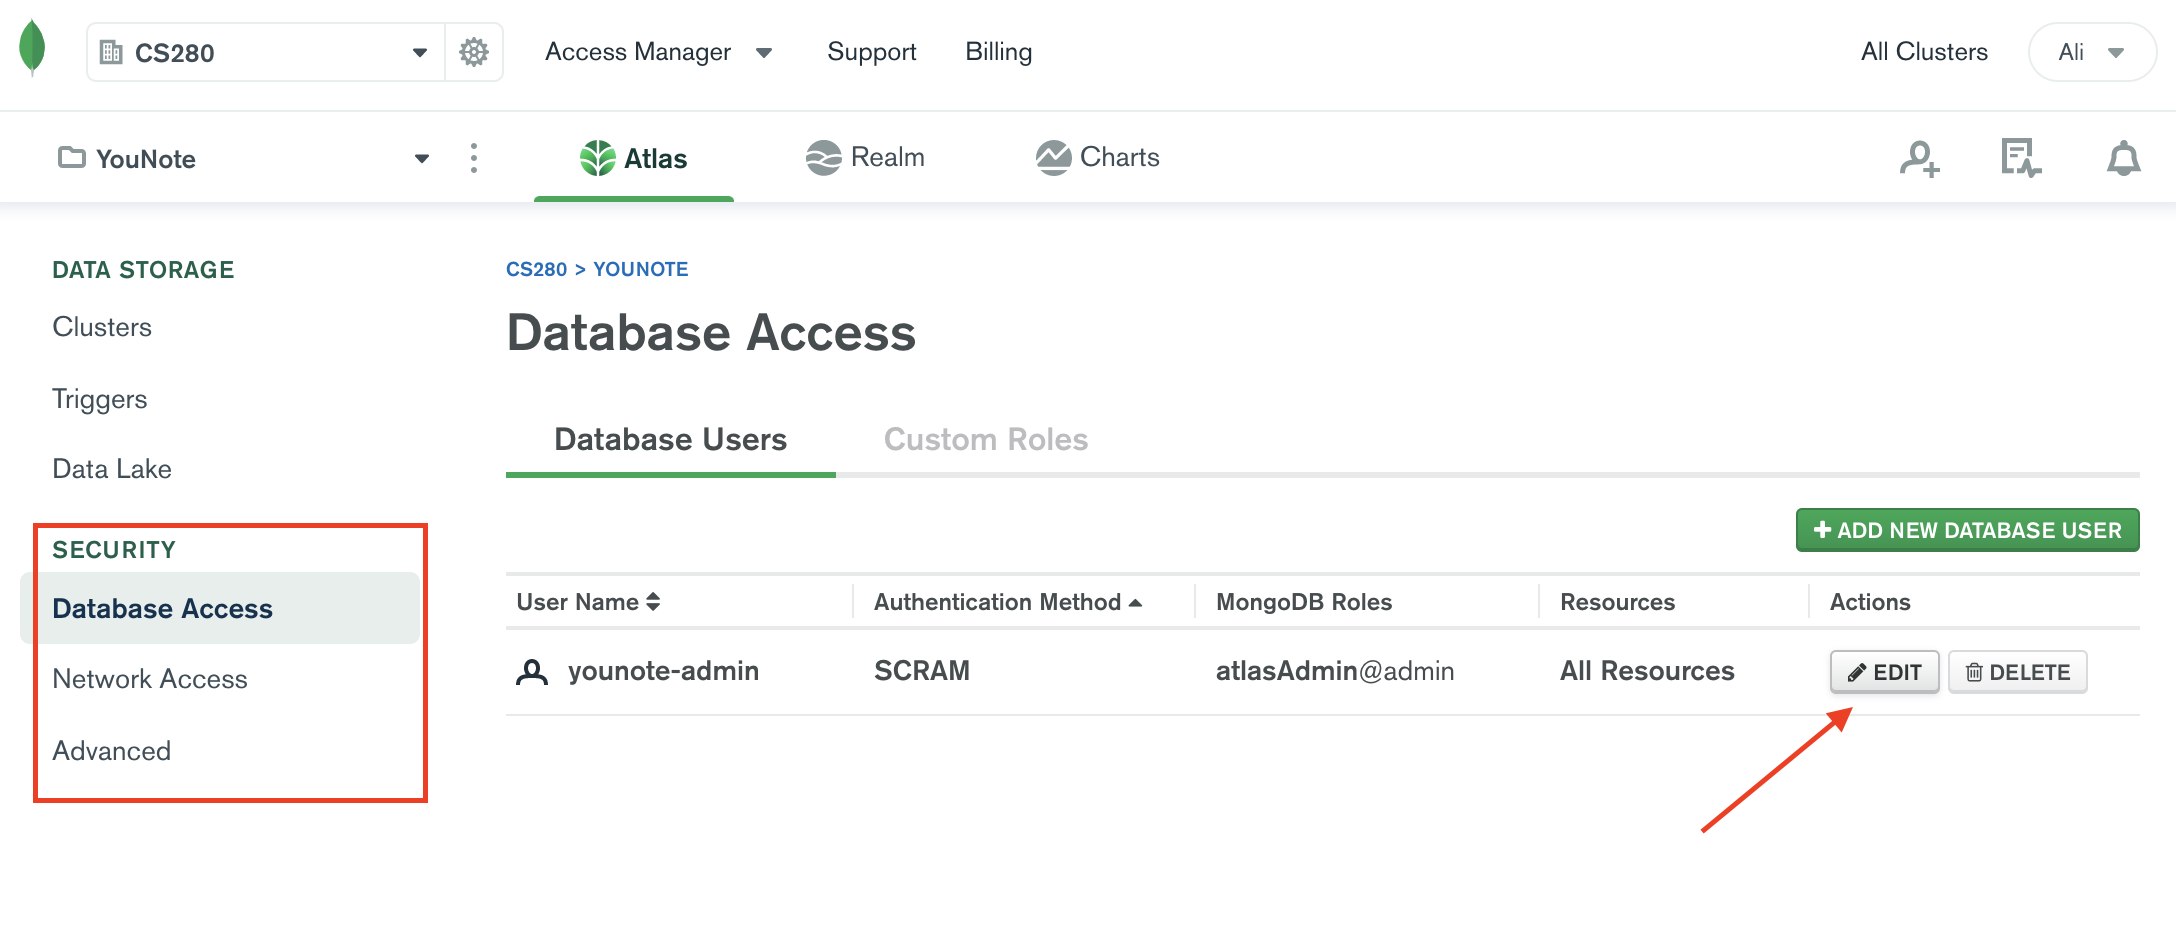
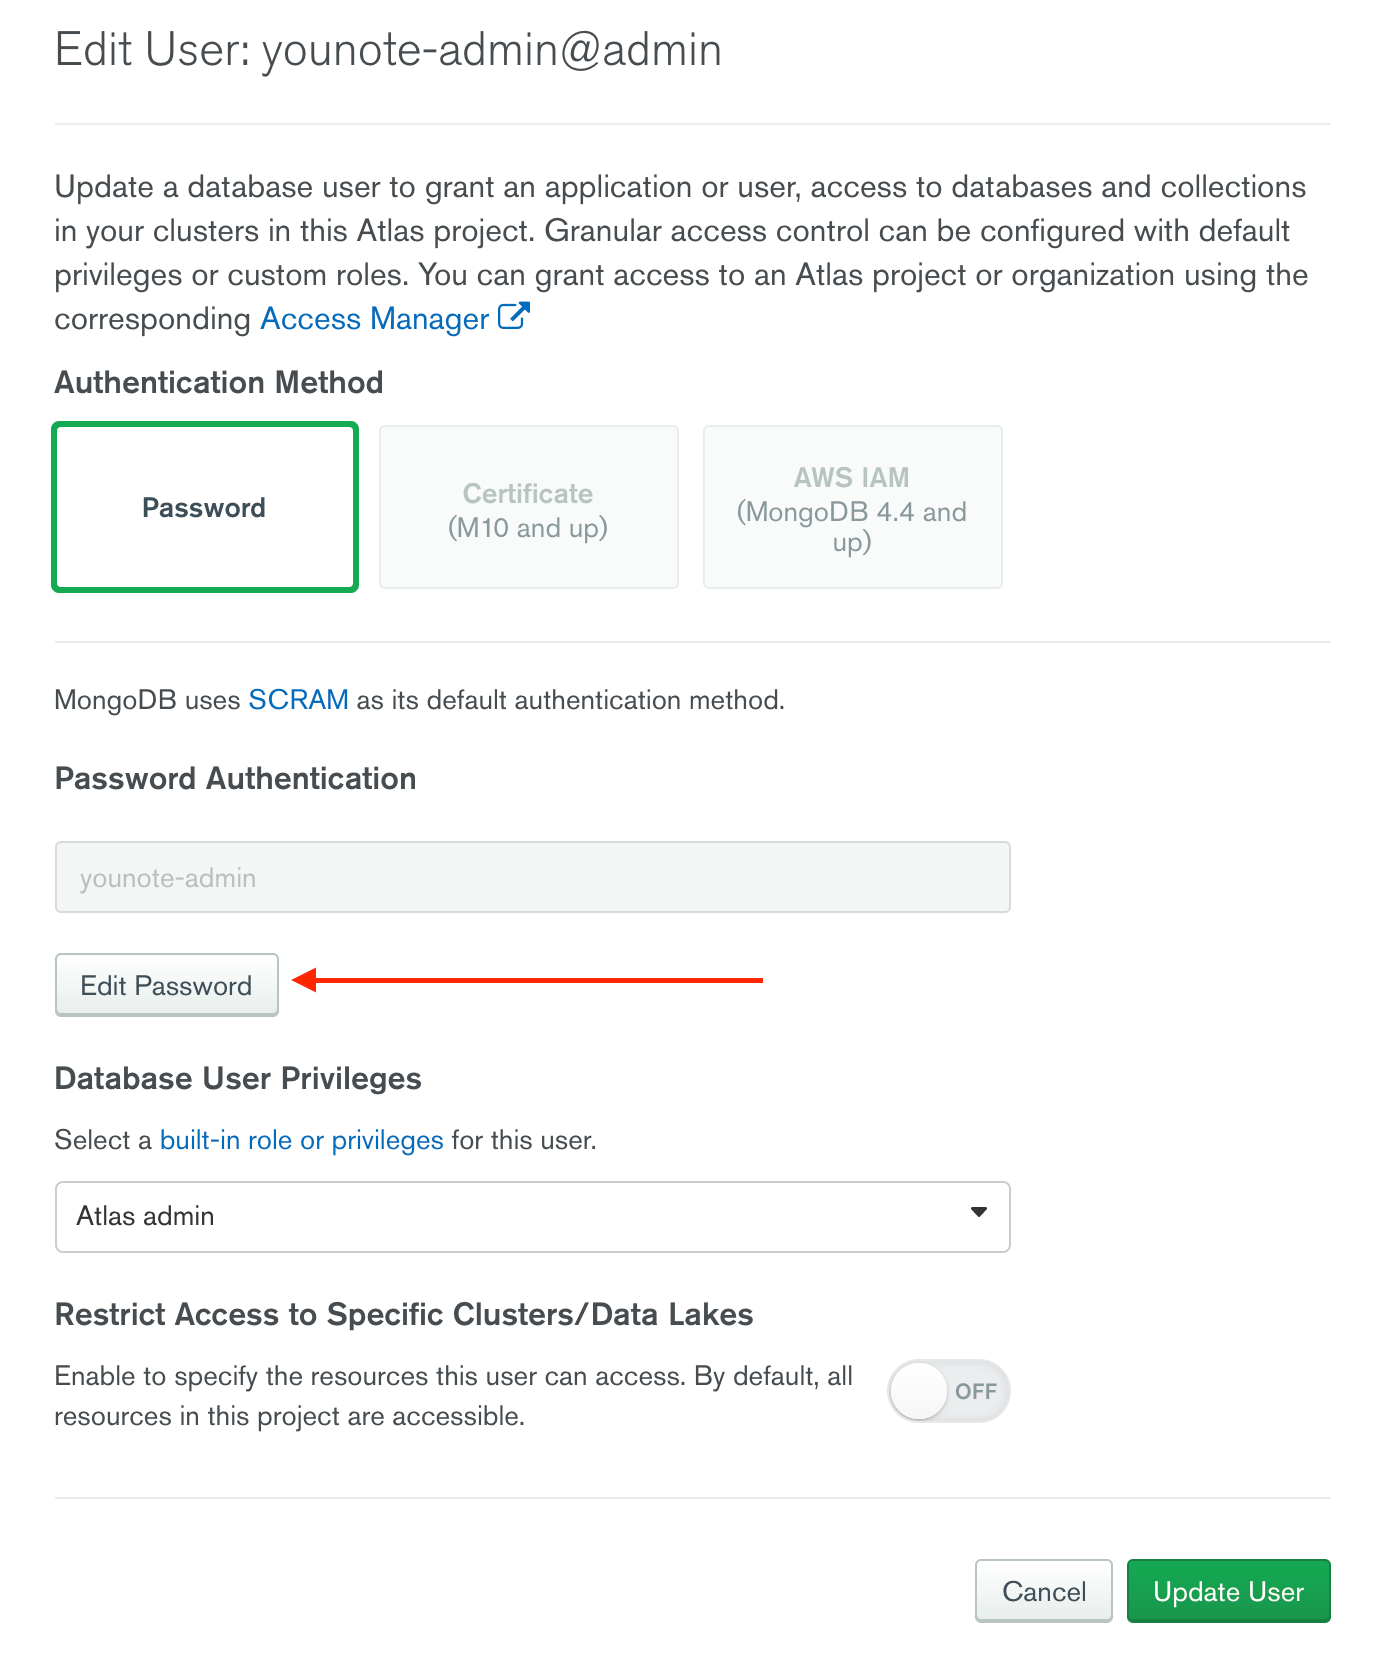
As for the password, it is the password we had Atlas generate for our younote-admin user. To get the password, go to "Database Access" under "Security" and then click on "Edit" button as depicted below:
In the "Edit User" prompt, click on "Edit Password".
You will see the following view; click on the "Copy" button.
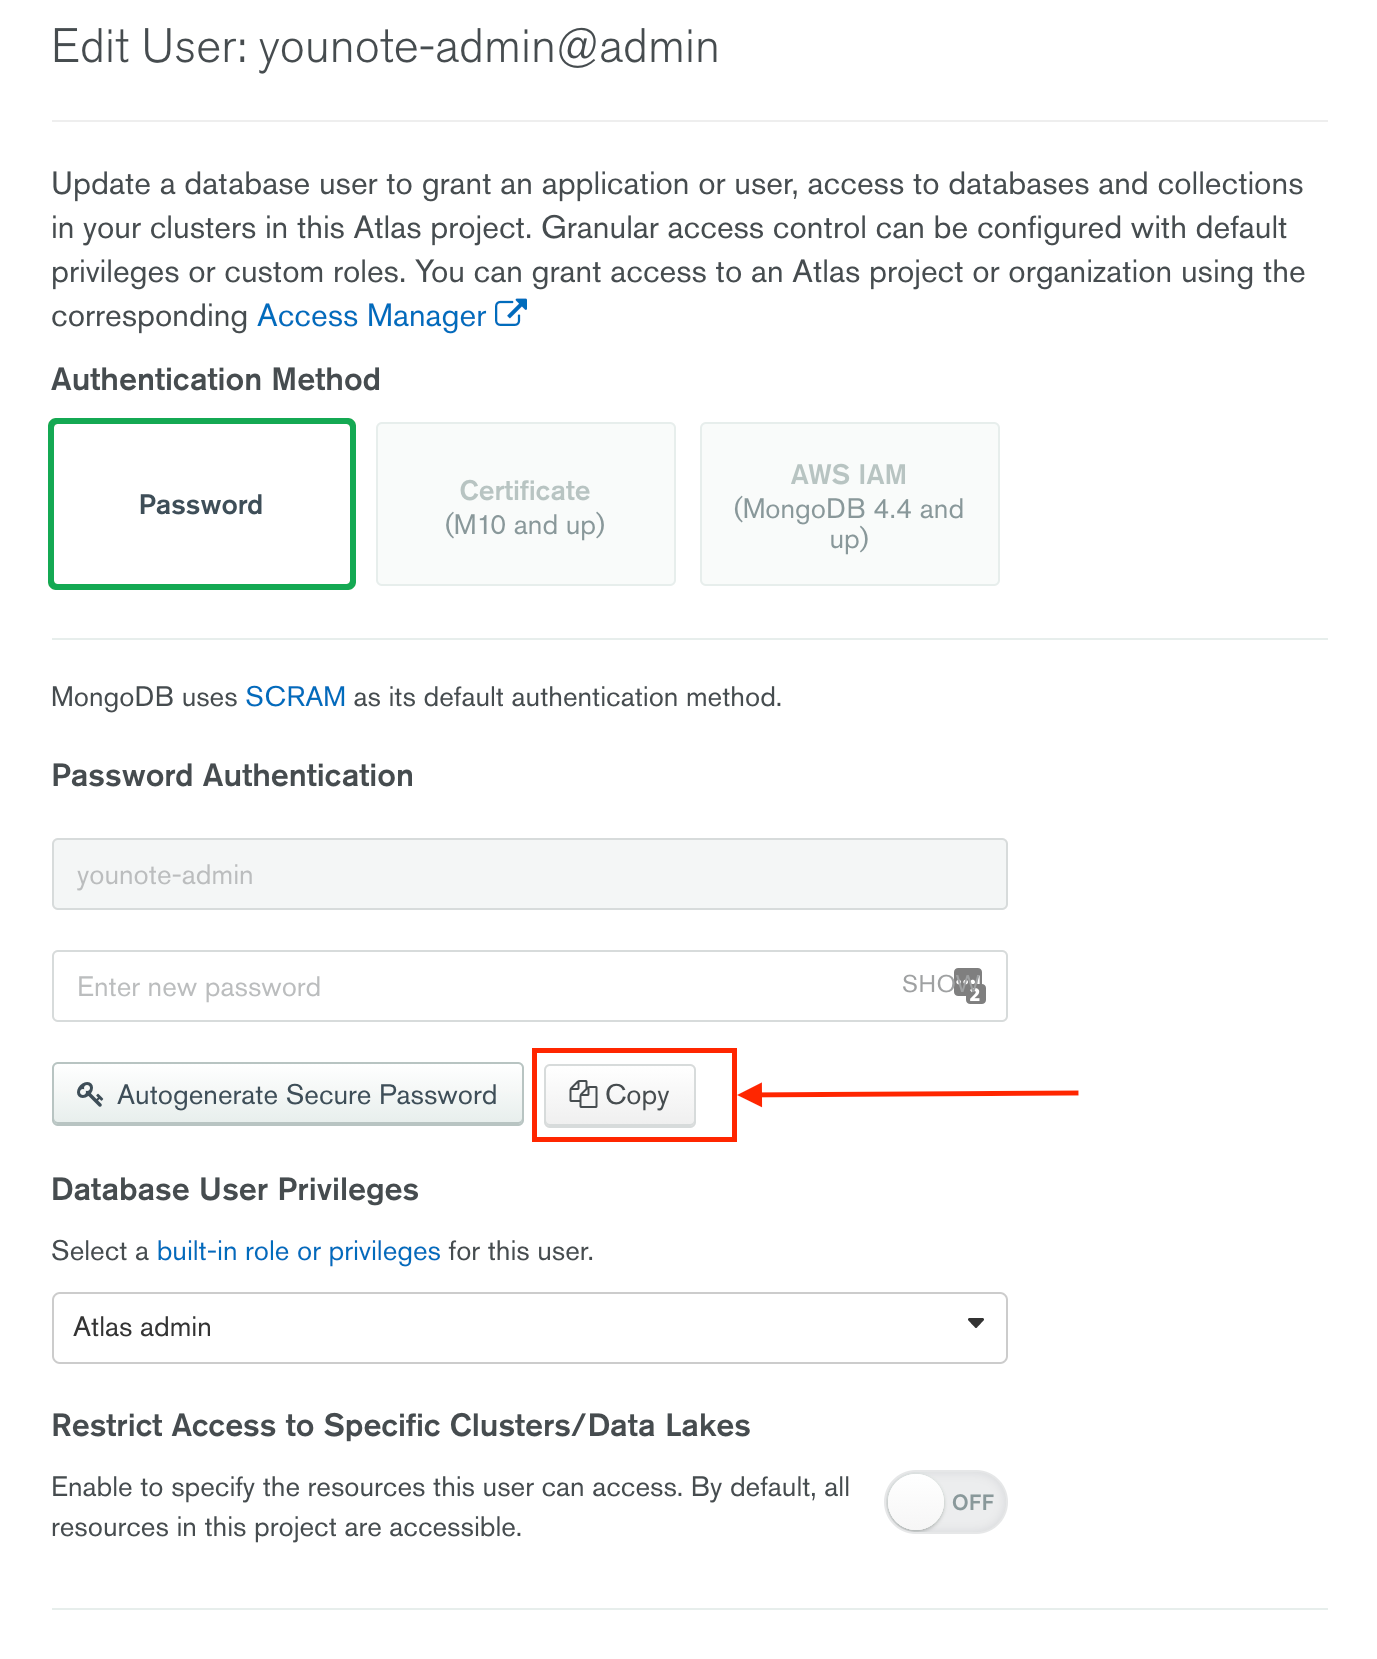
Finally, paste the copied password into the index.js file (in the code snippet above, it is where it says not-shown-here).
It is a bad practice to include sensitive information like password inside source code. We will fix this soon!