Step 2
Database Access
We now need to create at least one "user" and provide it with permissions to connect to our database. Here, user means the developer (i.e. you) not the end-user of your product. You can create multiple users with different functional role/permissions.
Under the security tab, click on "Database Access".

Then click on "Add New Database User". You will be presented with the following view.
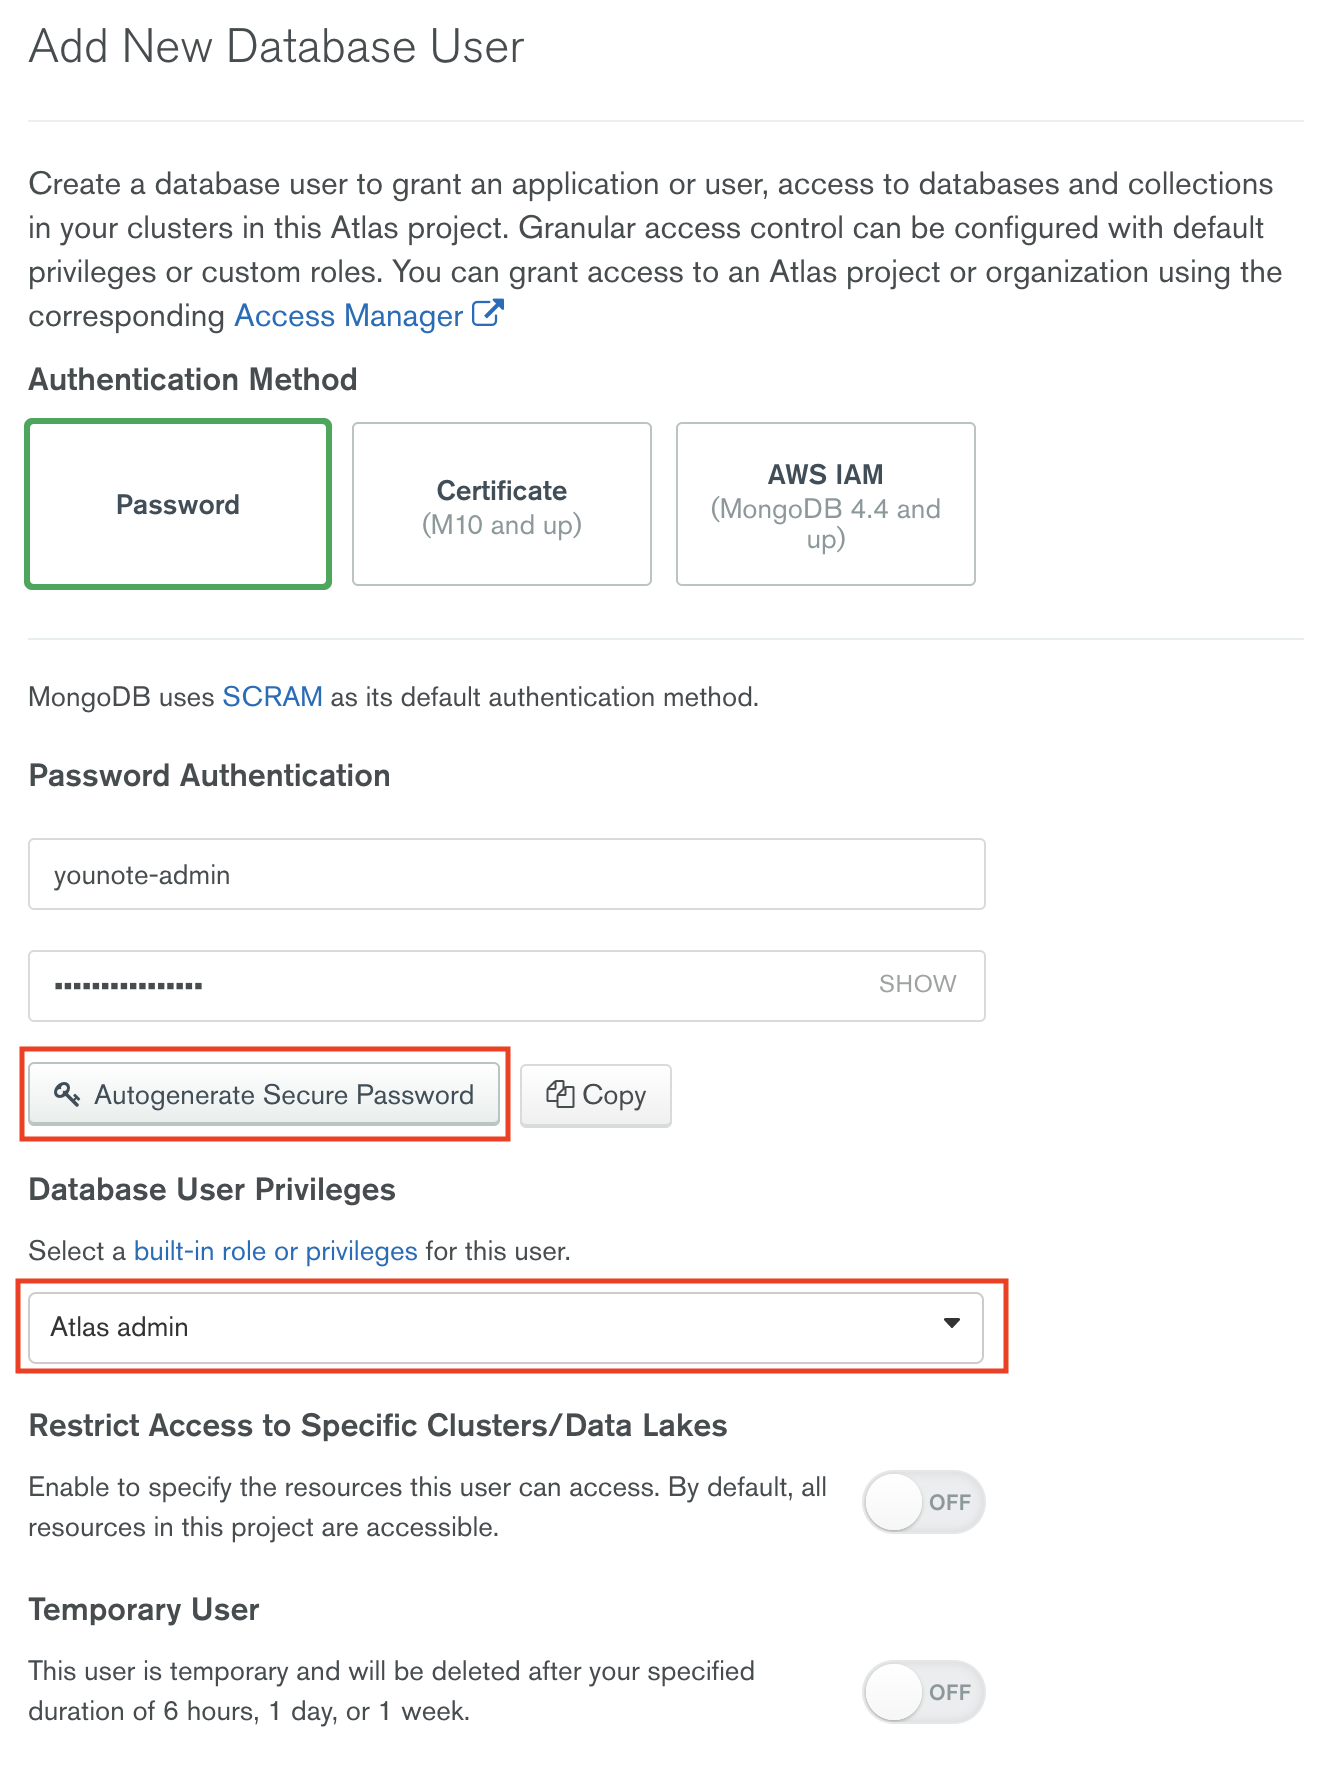
Select the following options:
- Authentication Method: Password
- Database user privilege: Atlas admin
I've chosen the username younote-admin and autogenerated a secure password.
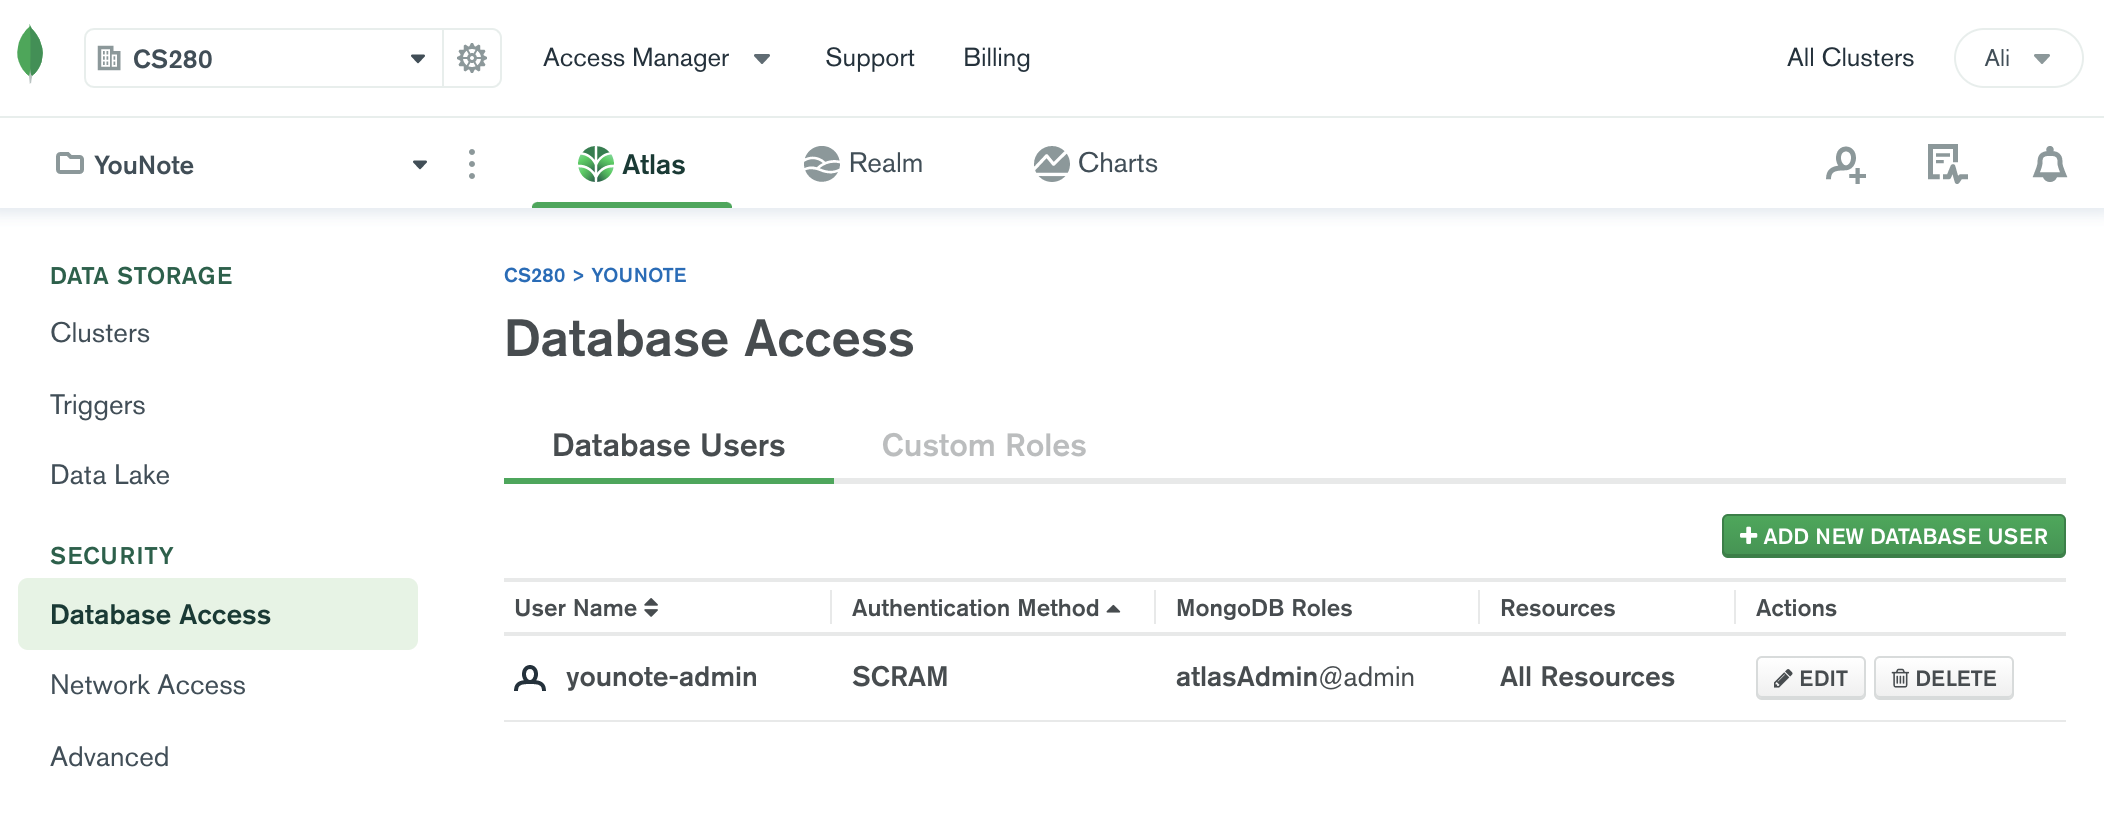
Click on "Add User". It will take a moment for the new setting to be put in place. You will eventually see the following view:
Network Access
As an extra layer of security, you can restrict access to your cloud database by selectively allowing/prohibiting certain IP addresses. We are going to allow all IPs! This does not mean that everyone will have access to our database! Only the database "users" will have access (and they need to be authenticated using their password).
Under the security tab, click on "Network Access".
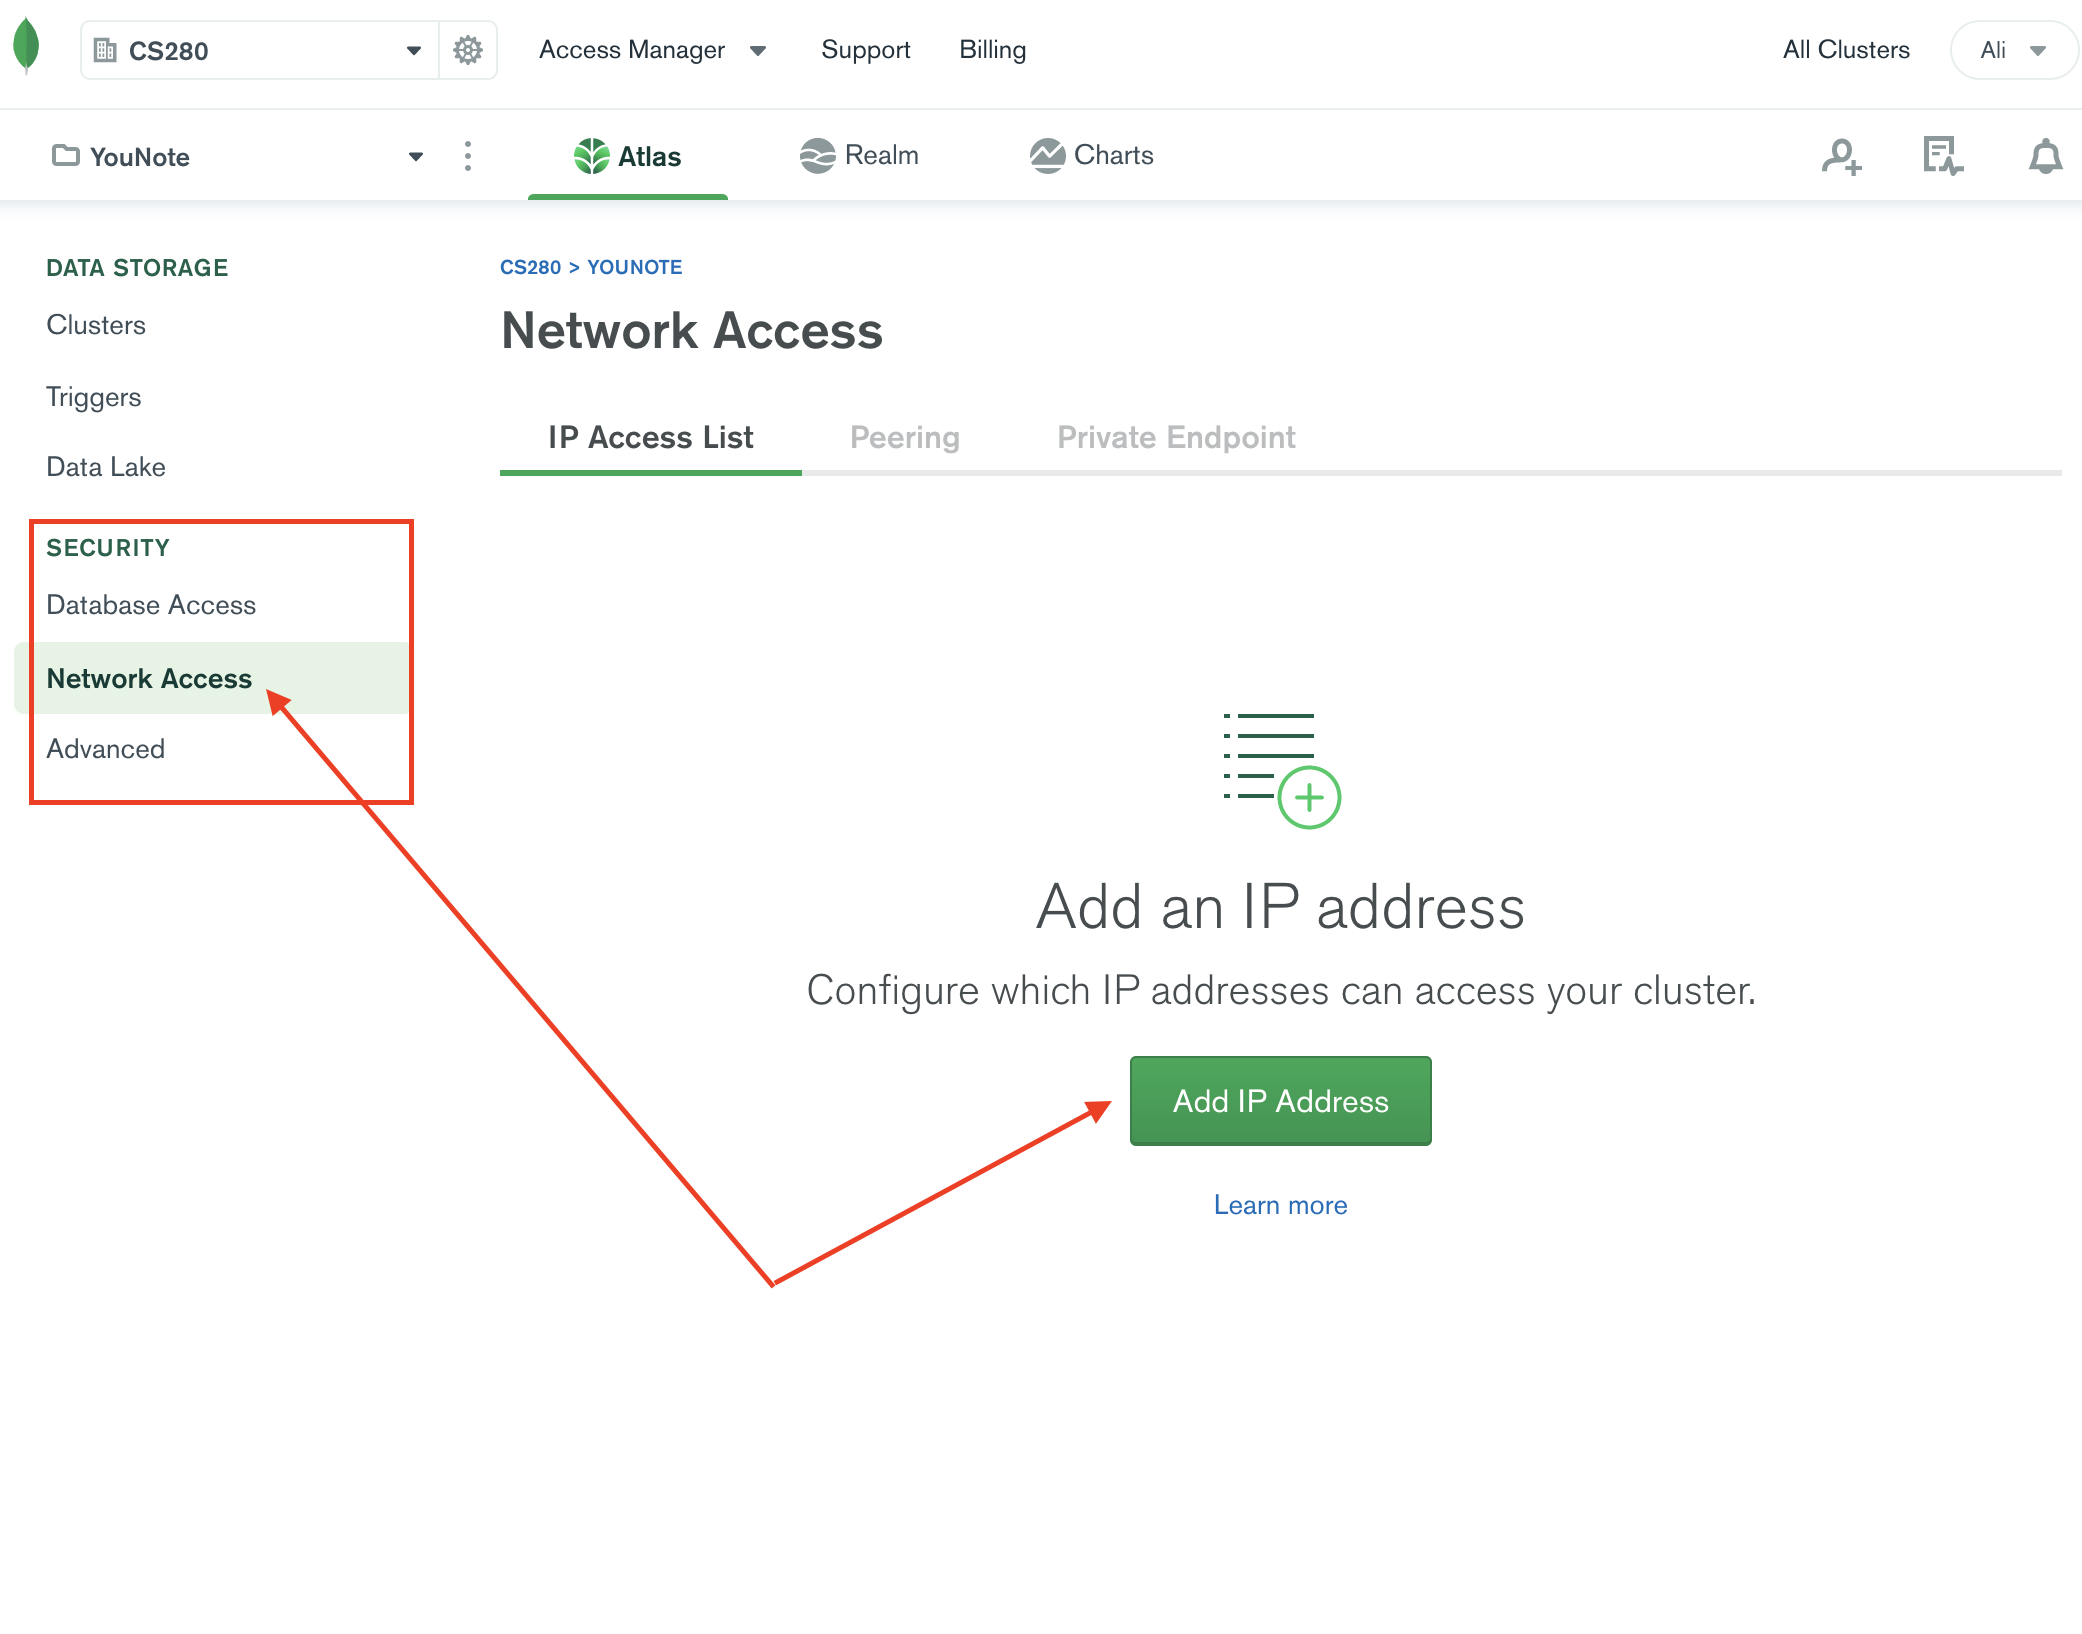
Then click on "Add IP Address". You will see the prompt below:
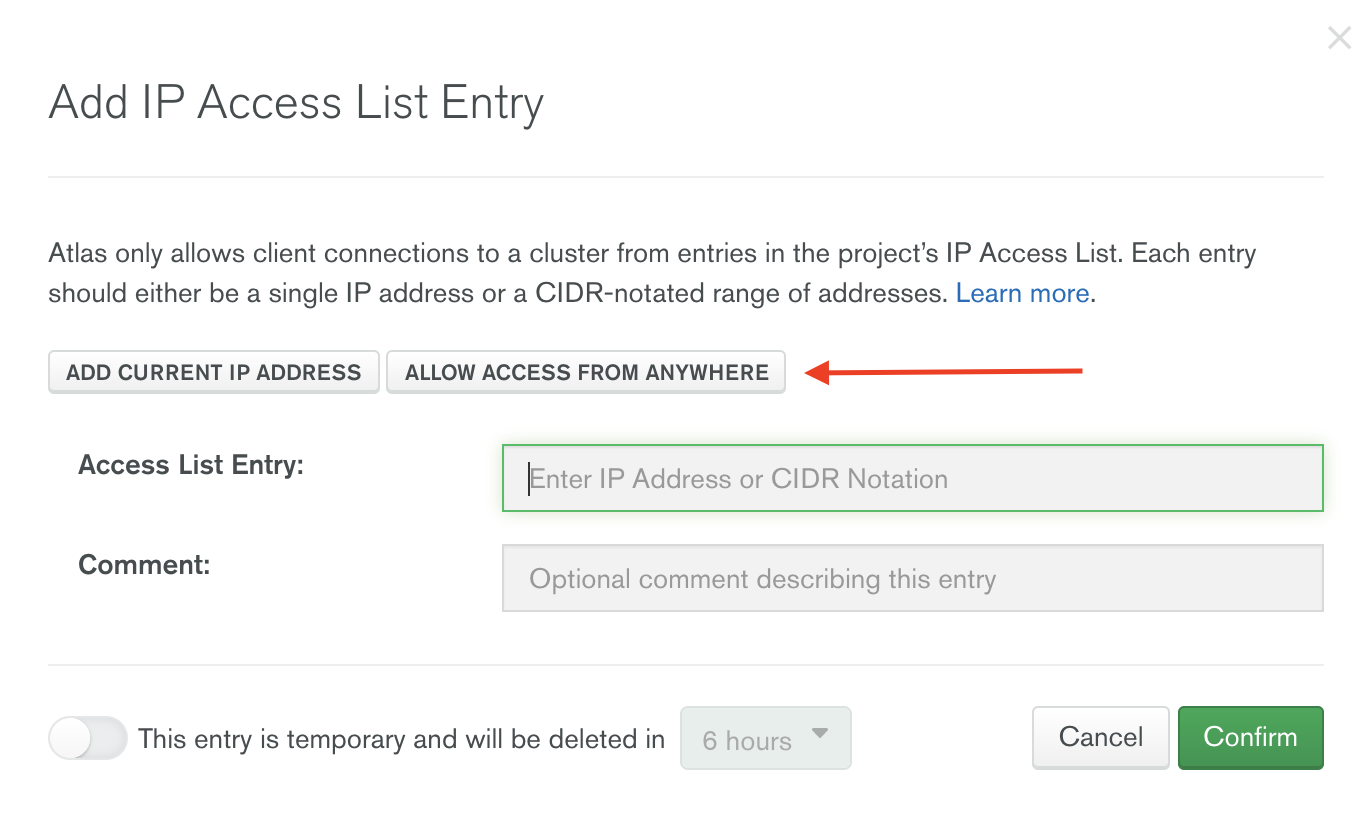
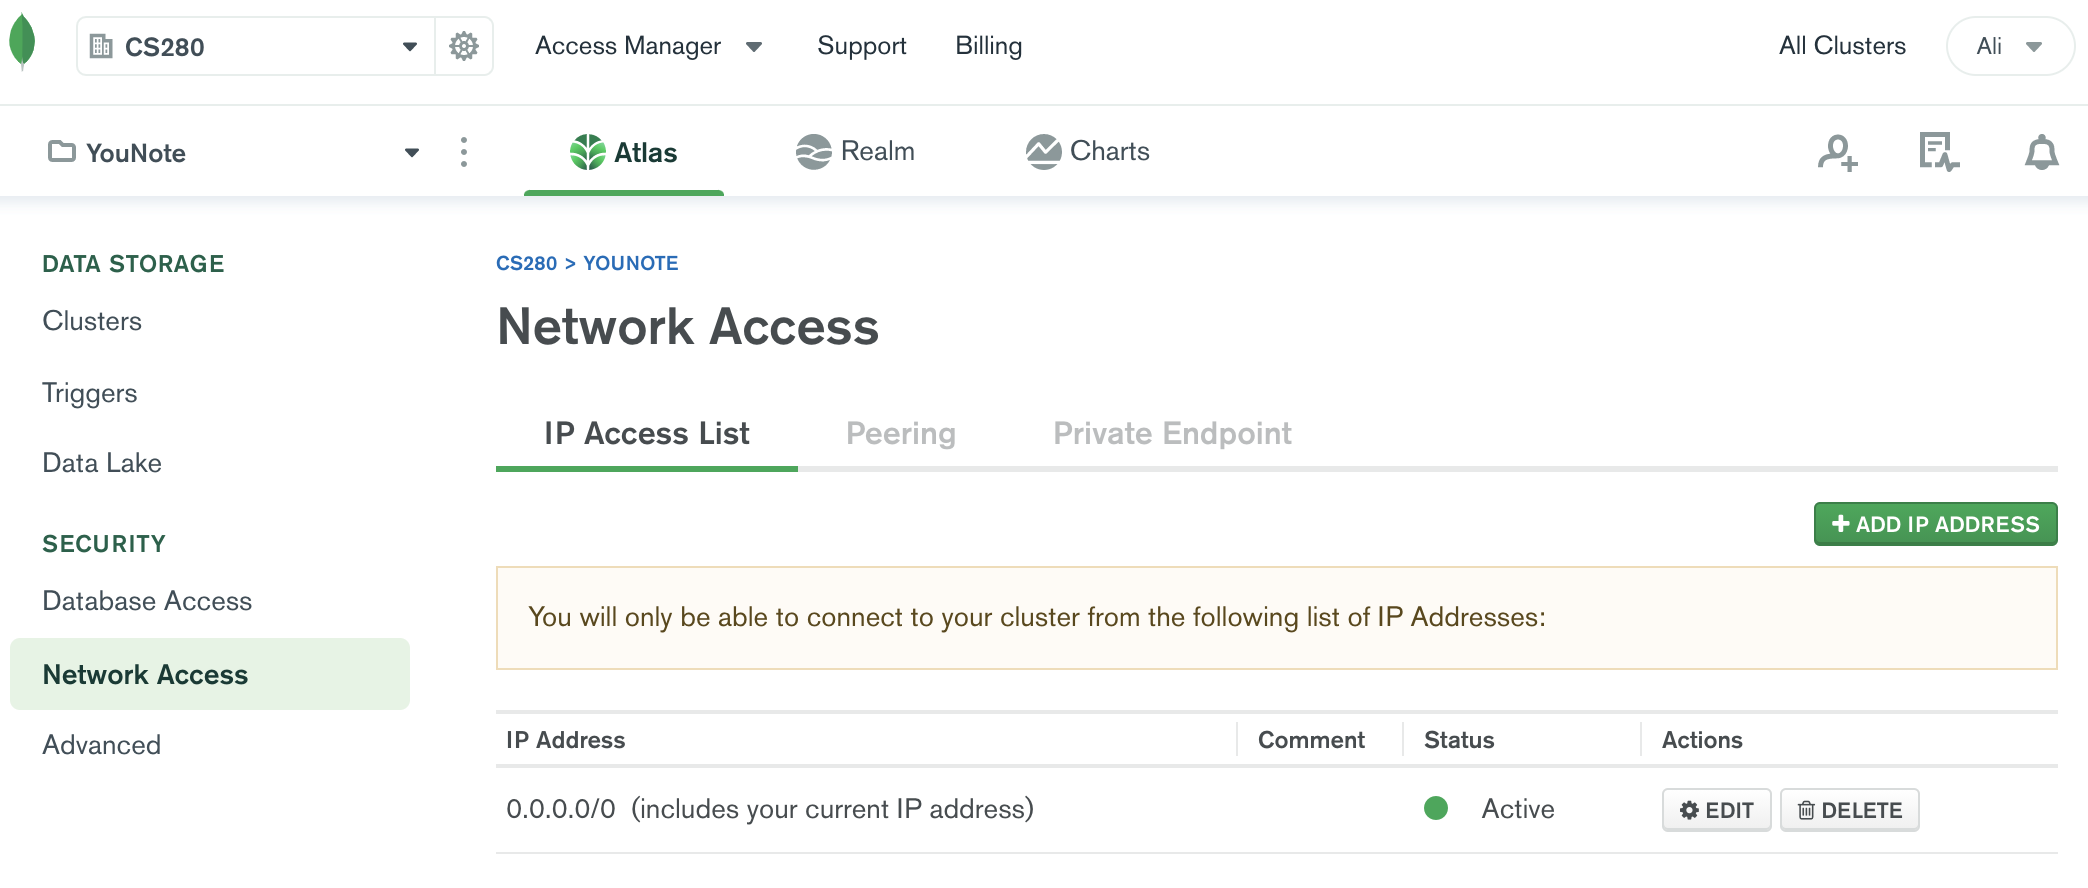
Click on "ALLOW ACCESS FROM ANYWHERE". Notice once you click on that option, the "Access List Entry" will be set to 0.0.0.0/0.
Confirm your selection. It will take a moment for the new setting to be put in place. You will eventually see the following view: